SFTP stands for “secure file transfer protocol” is used to transfer files and directories between two systems that are connected over a network. It uses the SSH protocol and supports the full security and authentication functionality of SSH. You can send and receive files and directories from both Linux and Windows systems.
Features and Benefits of SFTP
- Concurrent transfers from multiple devices
- Authorize specific or a range of IPs
- Runs as a Windows® service
- Powerful, free, and easy to use
- In this tutorial, we will show you how to install and use SFTP server on Windows 10.
Install SFTP Server on Windows 10
In this section, we will download and install the SolarWinds free SFTP server.
You can download and install the SolarWinds free SFTP server using the following steps.
1. Download the Tool
Download the SolarWinds SFTP Server installation file using the link https://www.solarwinds.com/free-tools/free-sftp-server.
2. Install the Utility on Windows 10
Once downloaded, extract the RAR folder and run the Windows installer file. You should see the following screen:

3. Accept and Install Software onto your Windows desktop
Click on the Next button. You should see the License agreement page:
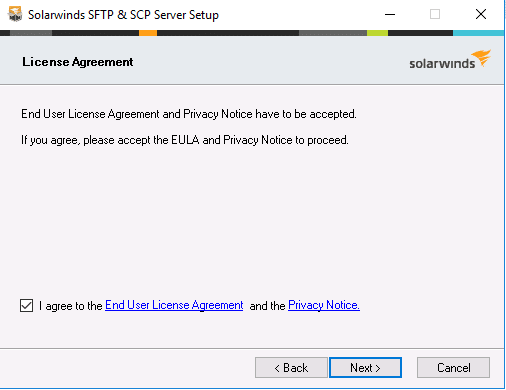
Accept the License agreement and click on the Next button. You should see the following screen:

Provide the installation path and click on the Next button. You should see the following screen:
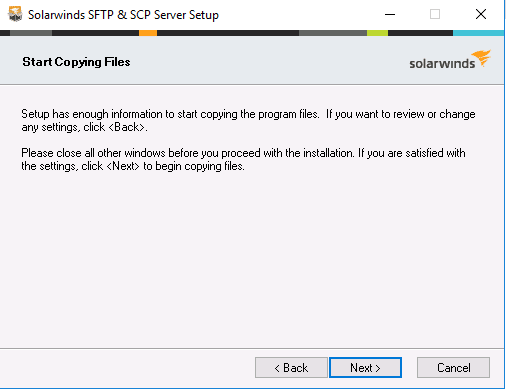
Click on the Next button to start the installation. Once the installation has been finished. You should see the following screen:
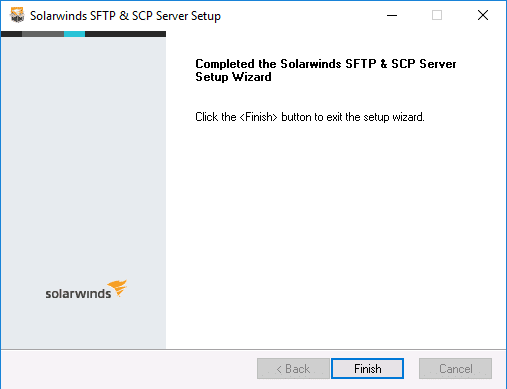
Click on the Finish button to complete the installation.
At this point, the SFTP server is installed in your server. You can now proceed to configure the SFTP server.
Configure SFTP Server
At this point, the SFTP server is installed on your system. Next, we’ll need to configure the software with some basic options and file locations.
You can configure the SFTP server with the following the below steps:
Launch the SFTP configuration wizard. You should see the following screen:
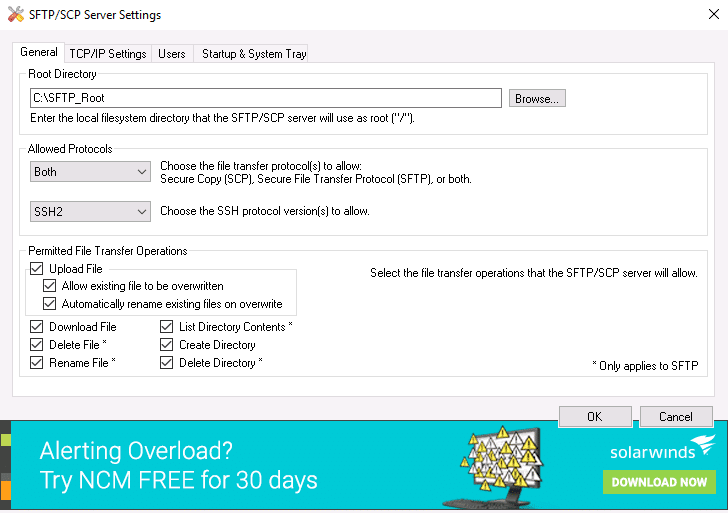
Provide the SFTP server root directory path and click on the TCP/IP Settings tab.
You should see the following screen:
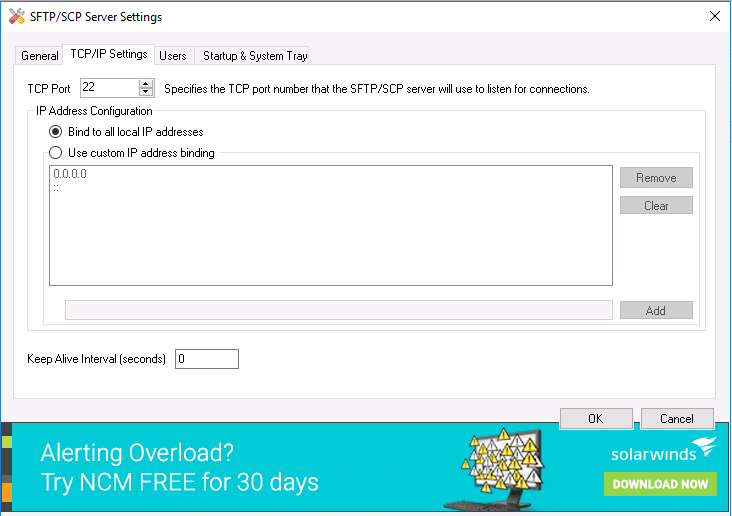
Select Bind to all local IP address or specify your desired IP and click on the Users tab.
You should see the following screen:

Provide your administrator username and password then click on the Apply Changes and OK button.
Then, click on the Startup & Systems Tray tab. You should see the following screen:
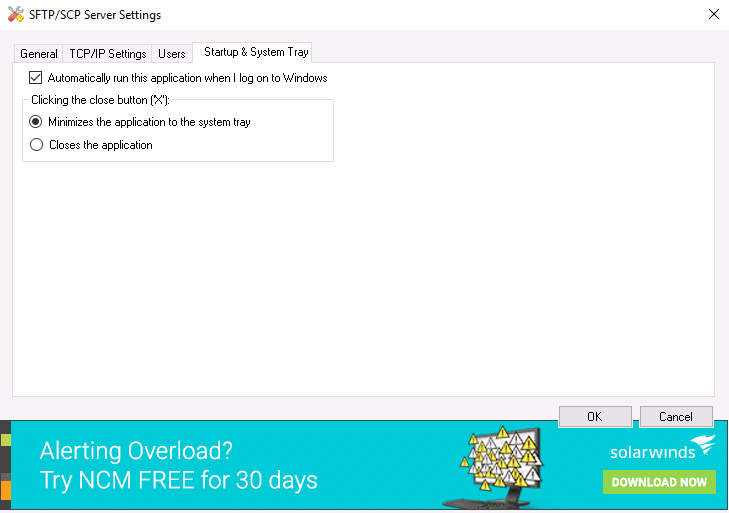
Check your desired options and click on the OK button to finish the configuration.
You can now see the SFTP server inside the Taskbar as shown below:
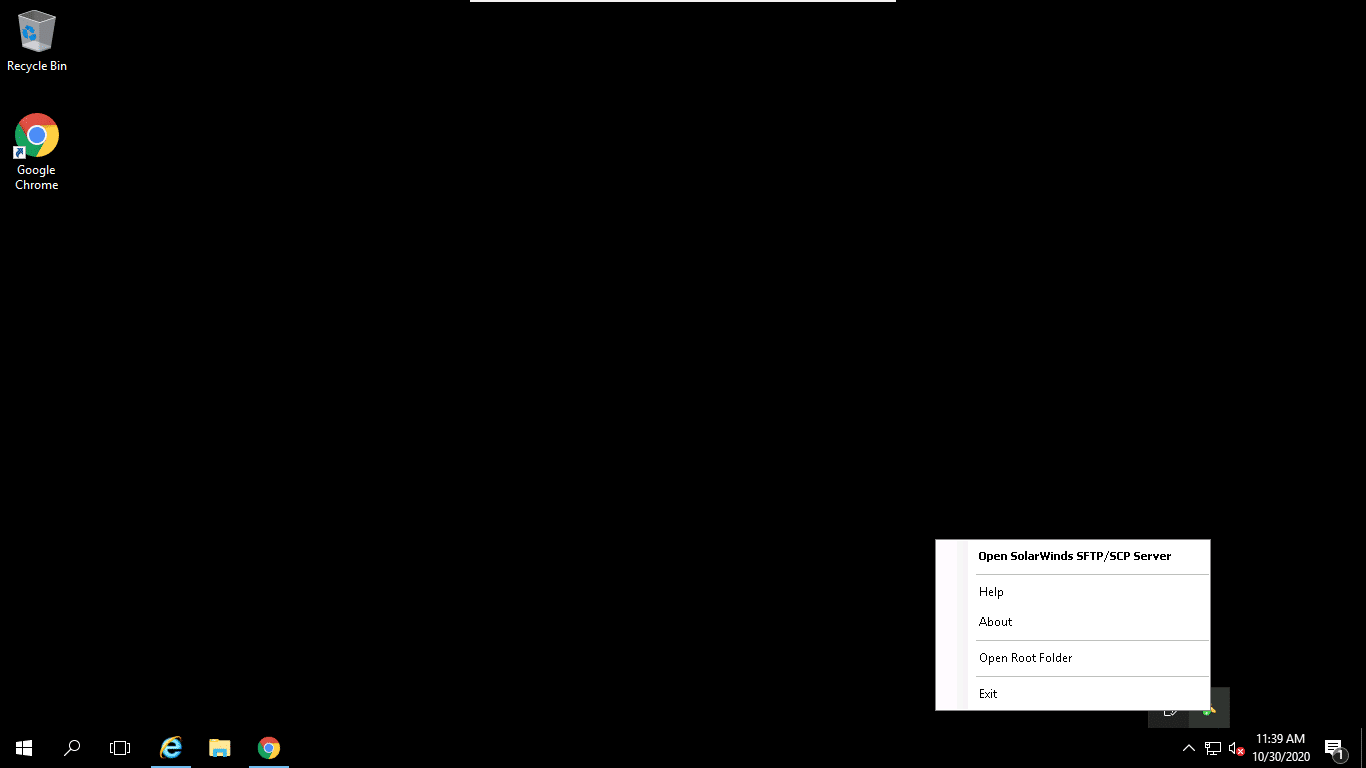
You can now easily launch the SFTP server from the taskbar.
Once you are finished, you can proceed to the next step.
Configuring Firewall to Allow Secure File Transfer Protocol Port
After installing and configuring the SFTP server, you will need to configure the firewall to allow SFTP connections. You can configure it by following the below steps:
Go to the Start Menu and open up the Control Panel and open the Windows Firewall.
You should see the following screen:
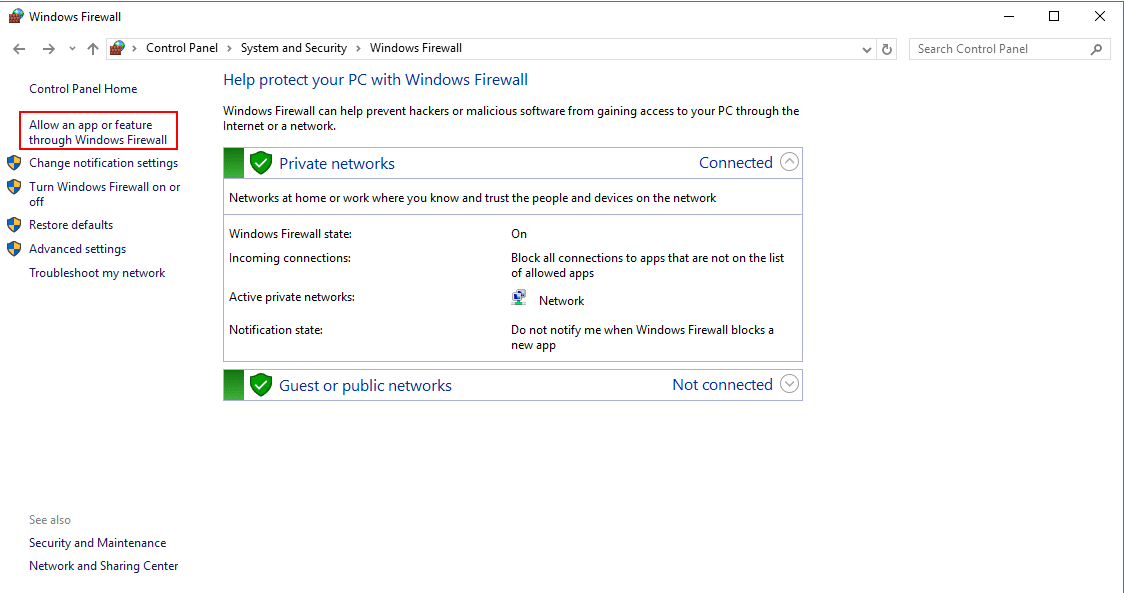
Click on the “Allow an app or feature through Windows Firewall” on the Windows Firewall settings window.
You should see the following screen:
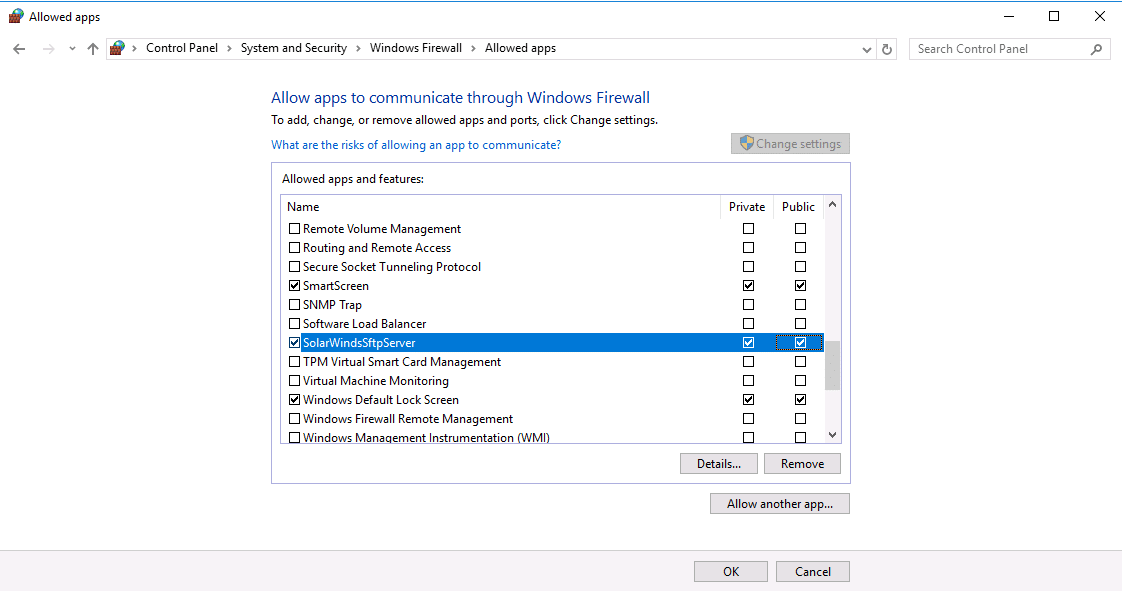
Now, click on Allow another app and then hit Browse.
Search for SFTP.exe, select it and click open.
Then, select SolarWindsSftpServer and check both the Private and Public boxes and then click OK.
At this point, your firewall is configured to allow remote SFTP connection. You can now proceed to the next step.
Install SFTP Client
Next, you will need to install SFTP client on the other Windows system to connect to the SFTP server and transferring files and directories – we have a full article dedicated to the best SFTP (and FTP) clients to choose from, or use the one we’ve chosen below!
In this tutorial, we will install and use WinSCP client to transfer files and directories. WinSCP is an open-source SFTP client for Windows. You can get it from the WinSCP download page. The latest stable WinSCP version is 5.17.8 as of now.
You can install the WinSCP client on the remote Windows system by following the below steps:
1. Download the latest version of WinSCP using the link https://winscp.net/eng/download.php.
2. Once downloaded, run the installer file. You should see the following screen:
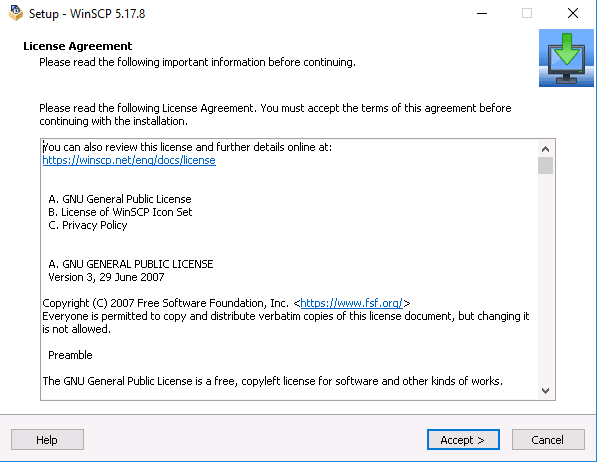
3. Click on the Accept button to accept the License Agreement.
You should see the following screen:
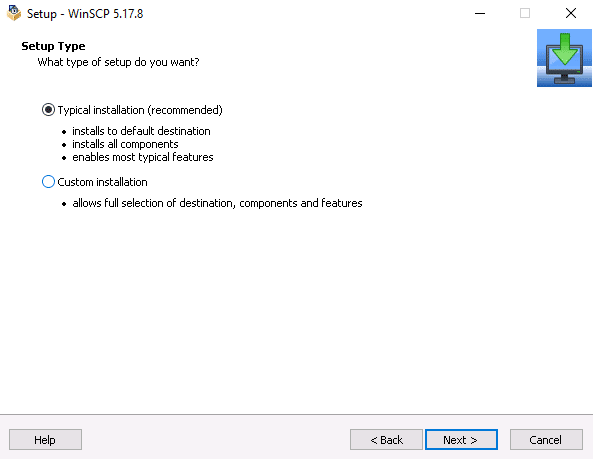
4. Select your desired installation type and click on the Next button.
You should see the following screen:
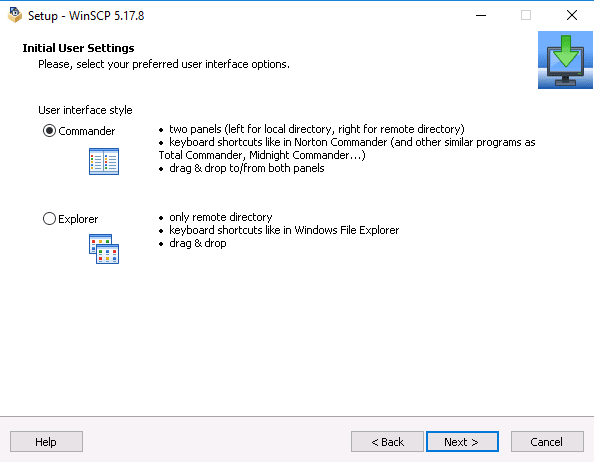
5. Select your desired interface and click on the Next button.
You should see the following screen:
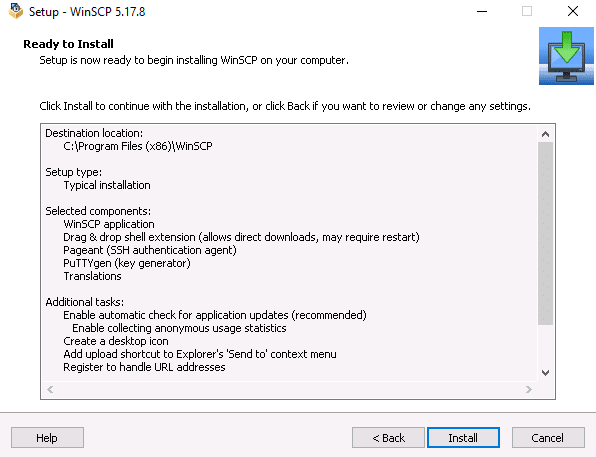
6. Click on the Install button to start the installation.
Once the installation has been finished, you should see the following screen:
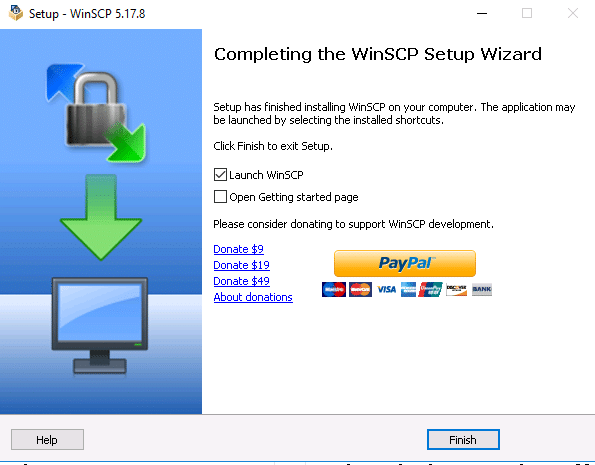
7. Select Launch WinSCP and click on the Finish button to launch the WinSCP client.
You should see the following screen:

Transferring Files using SFTP
At this point, the SFTP server and client are ready to perform file transfer operations.
On the Windows client machine, launch the WinSCP client. You should see the following screen:

Click on the New Session. You should see the following screen:
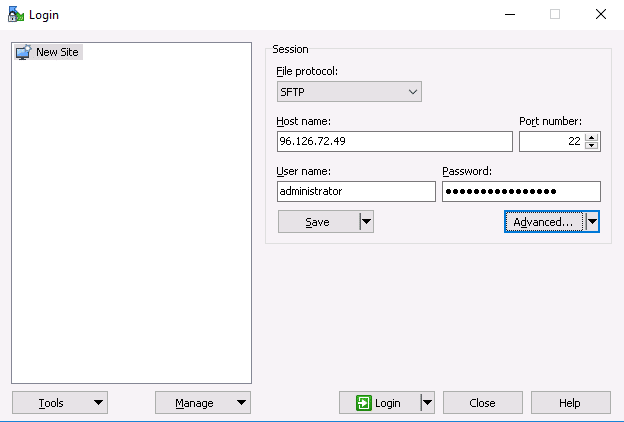
Provide your SFTP server IP, username, password and click on the Login button.
You will be asked to add the remote servers host key to a cache as shown below:
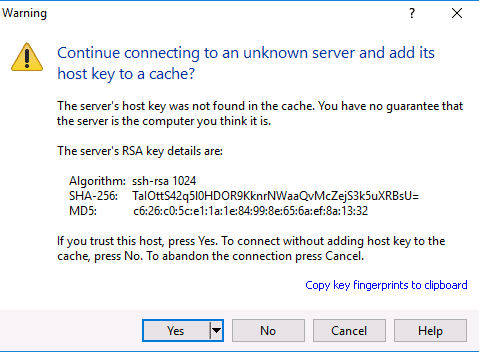
Click on the Yes button.
You will be presented with a dual-pane session window similar to the following:
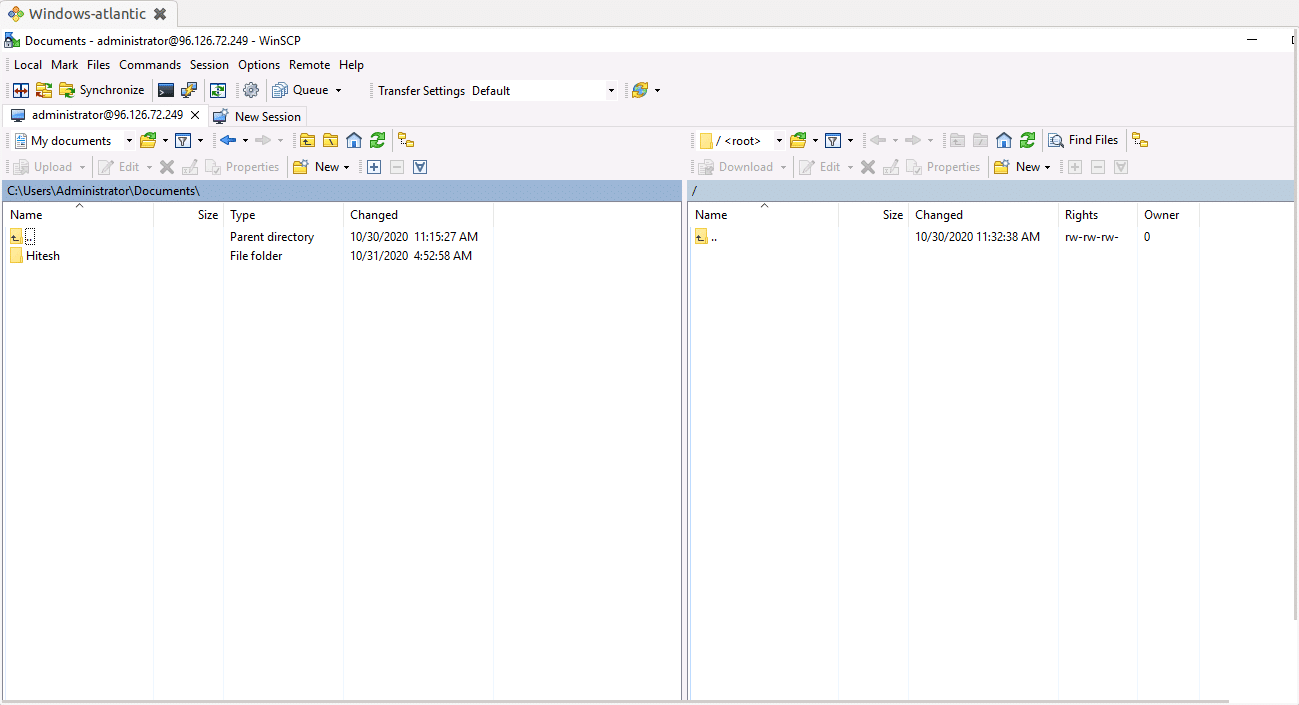
You can navigate your local filesystem in the left view pane, while your SFTP server filesystem is displayed on the right side.
You may copy files between the two systems by simply dragging and dropping them between the panes.
To transfer the directory named Hitesh on your local filesystem in the left pane to the SFTP server’s root directory.
Right-click on the directory and click on the Upload => Upload. You should see the following screen:


Click on the OK button to transfer the directory to the SFTP server.
Once the directory is transferred, you should see the following screen:

Conclusion
In the above guide, we’ve learned how to install a Free SFTP server tool on Windows 10 and configure it to allow external connections using the Windows Firewall.
We’ve also learned how to install WinSCP client and transfer files and directories between two systems. We hope you can now easily use this SFTP server to perform your day-to-day tasks.
it doesn’t support public/private key setup