Every device on a network has an IP address for communication processes. There are two ways you can assign an IP address to the computer, either via a Static IP address or Dynamic IP address.
A static IP address is an IP address that you need to configure on a computer manually.
A dynamic IP address is an IP automatically assigned by a DHCP server to every computer on a network.
DHCP stands for “Dynamic Host Configuration Protocol” and is a networking protocol used to assign an IP address and other network configuration to each host on a network so they can communicate with each other.
A DHCP scope is a valid range of IP addresses that are available from the DHCP server for assignment or lease to the client computer on a specific subnet.
The Scope determines which IP addresses are provided to the clients and one DHCP scope is required for each subnet.
With a DHCP Scope, you can configure several network configurations for all client computers including DNS servers and Gateways.
In this tutorial, we’ll show you how to configure a DHCP Scope on Windows Server 2016.
Prerequisites
- A server running Windows Server 2016.
- A static IP address is configured on your server.
Install DHCP Server
Before starting, you will need to add DHCP server role in your server.
You can install DHCP server role by following the below steps:
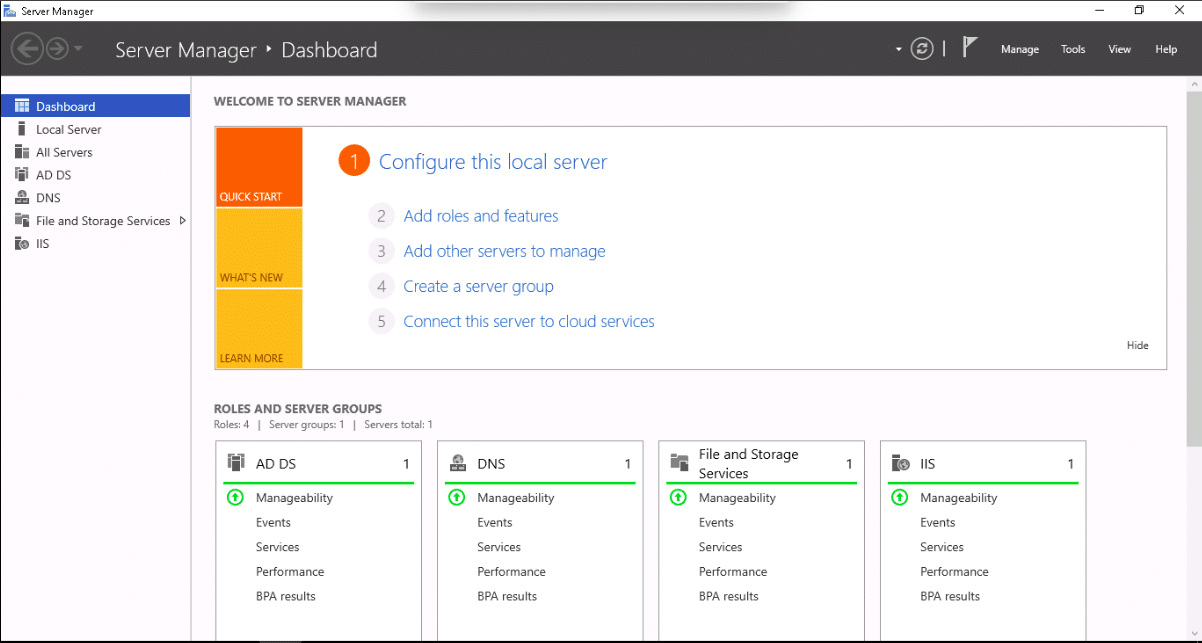
1. Open Server Manager and click on the Add roles and Features:
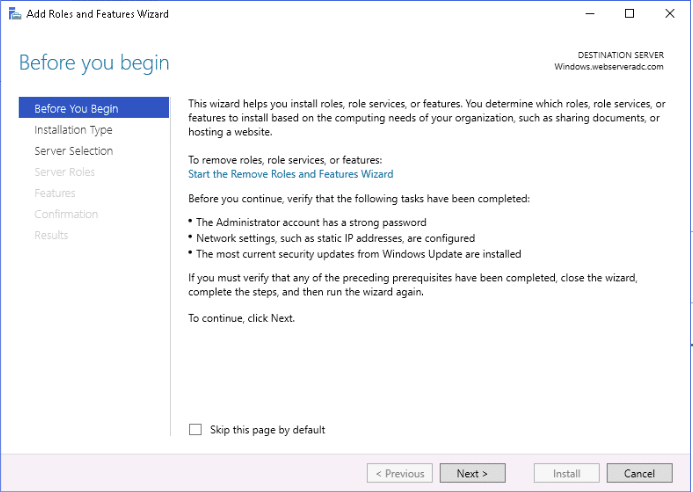
2. Click on the Next button to start the Role and Feature wizard as shown below:
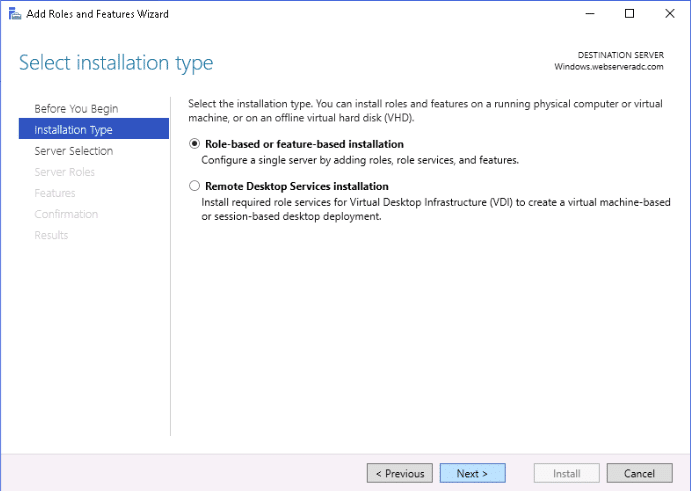
3. Choose Role-based or Feature-based installation checkbox and click on the Next button:
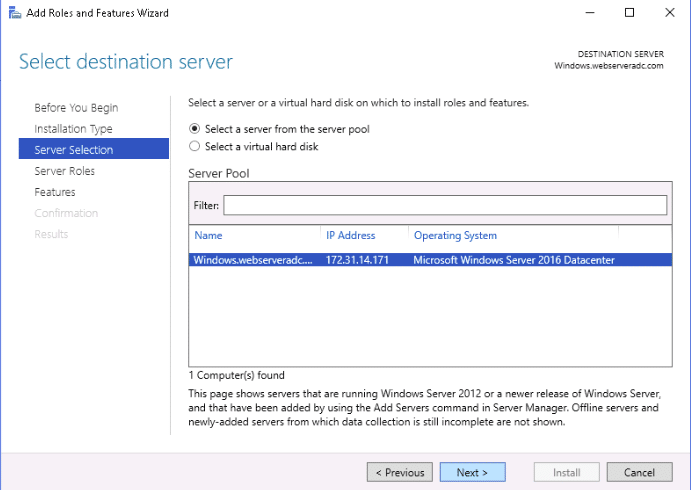
4. Select a Server from the Server Pool and click on the Next button as shown below:
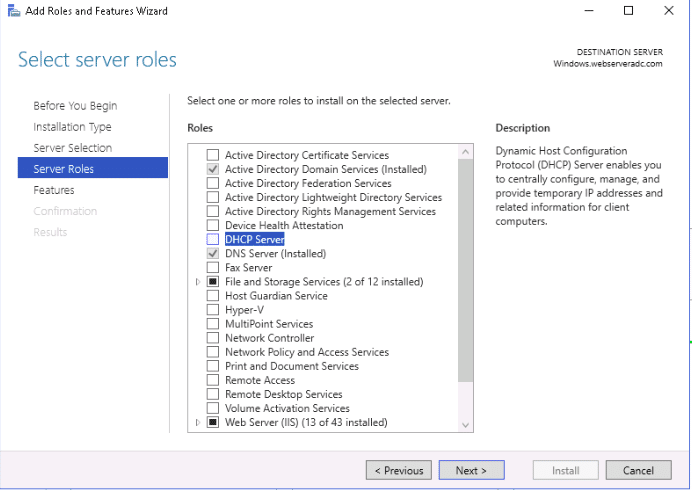
5. Select DHCP Server from the list of roles as shown in the following page:
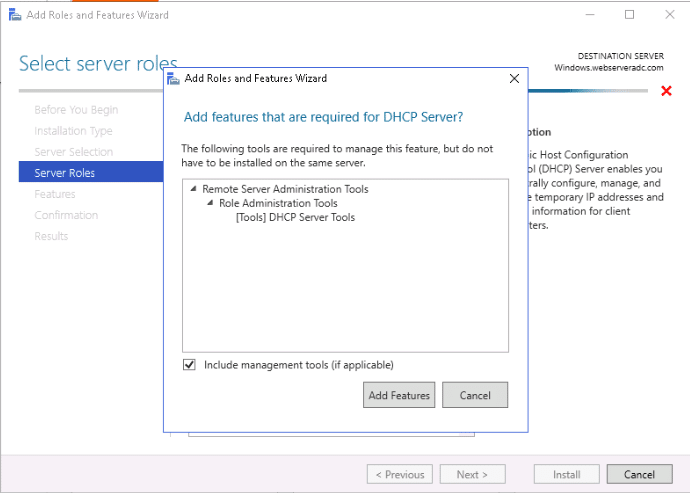
6. A new window will open, click on the Add Features as shown below:
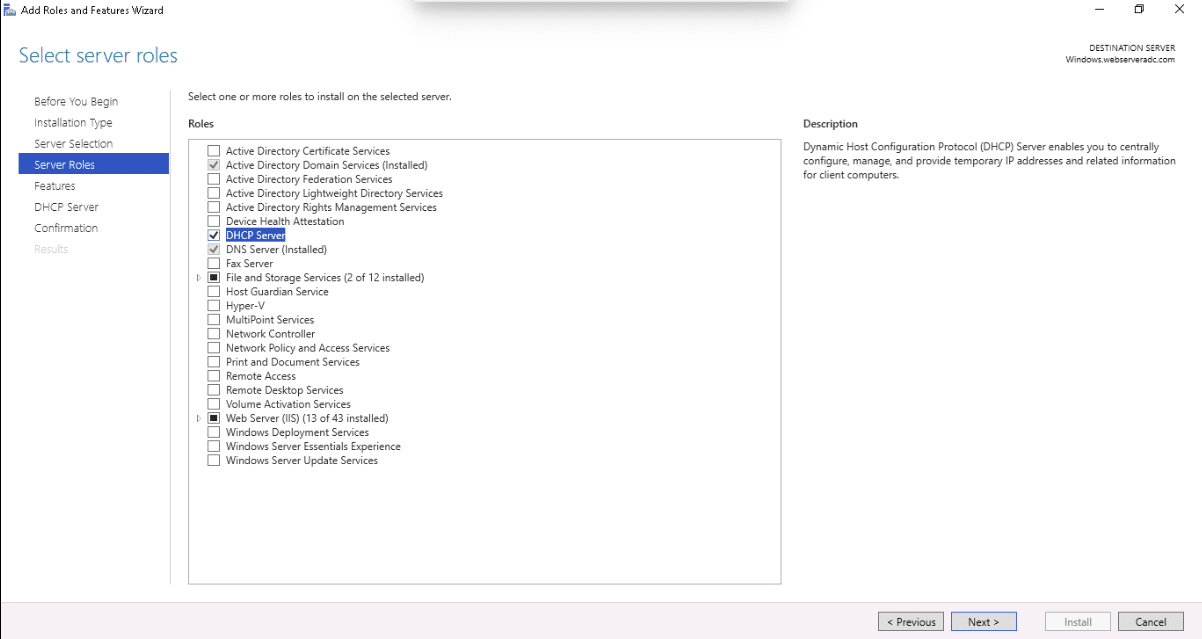
7. Once DHCP Server feature is Enabled click on the Next button:
8. Select the default selection and click on the Next button:

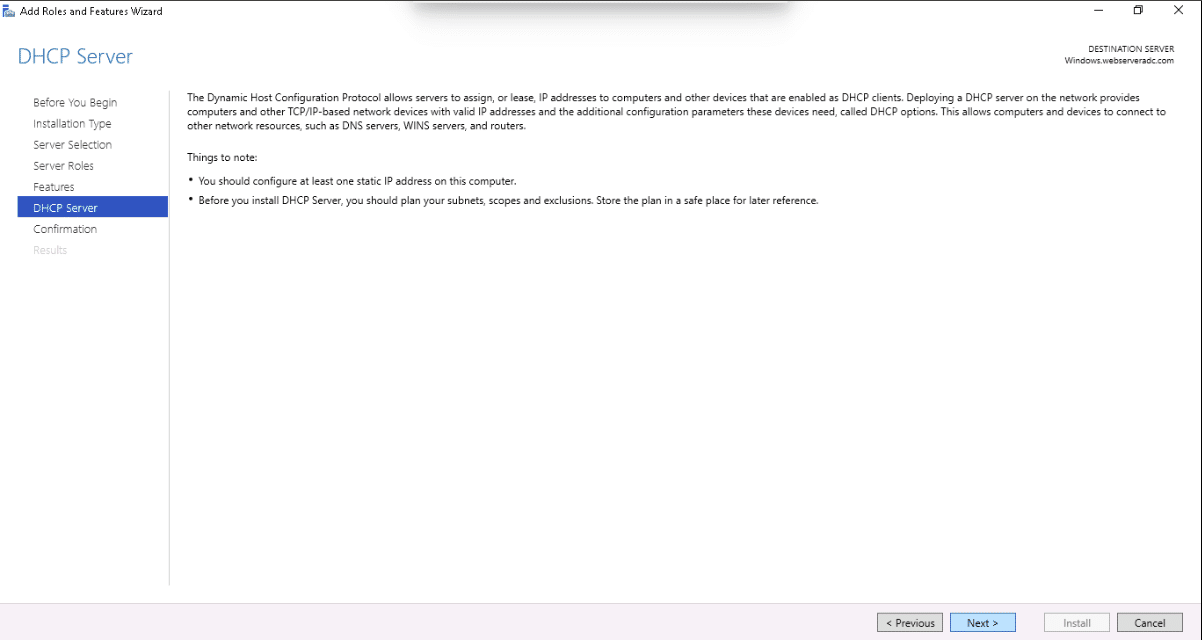
9. Read about the DHCP server and click on the Next button:
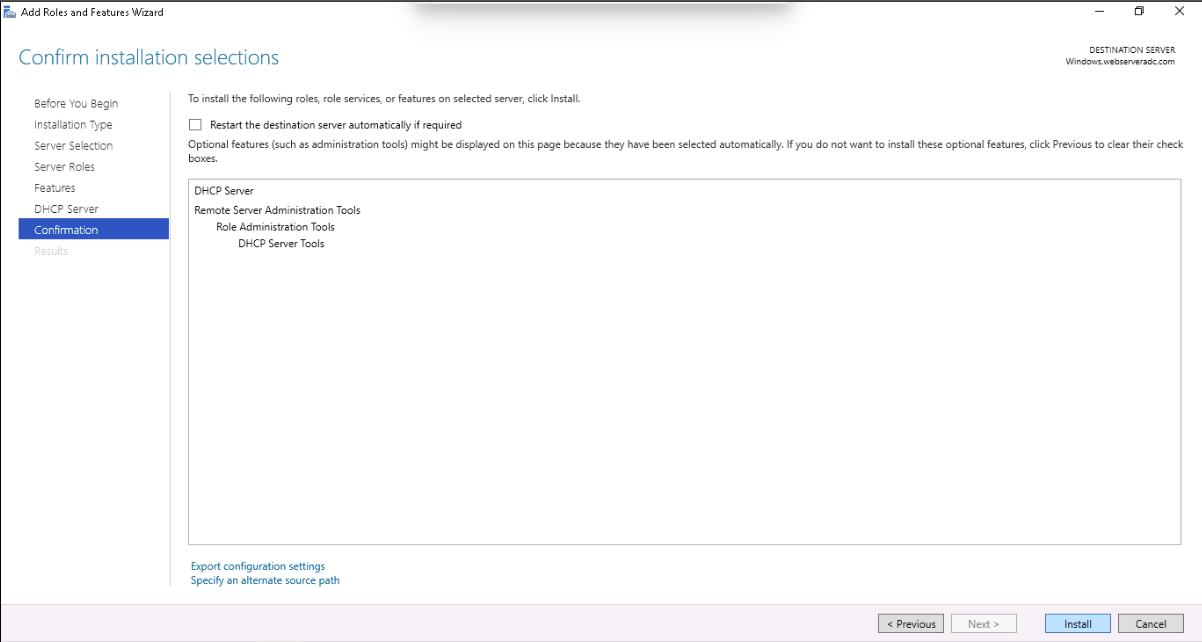
10. Now, click on the Install button to start the installation:
11. Once the installation has been completed successfully, you should see the following page:
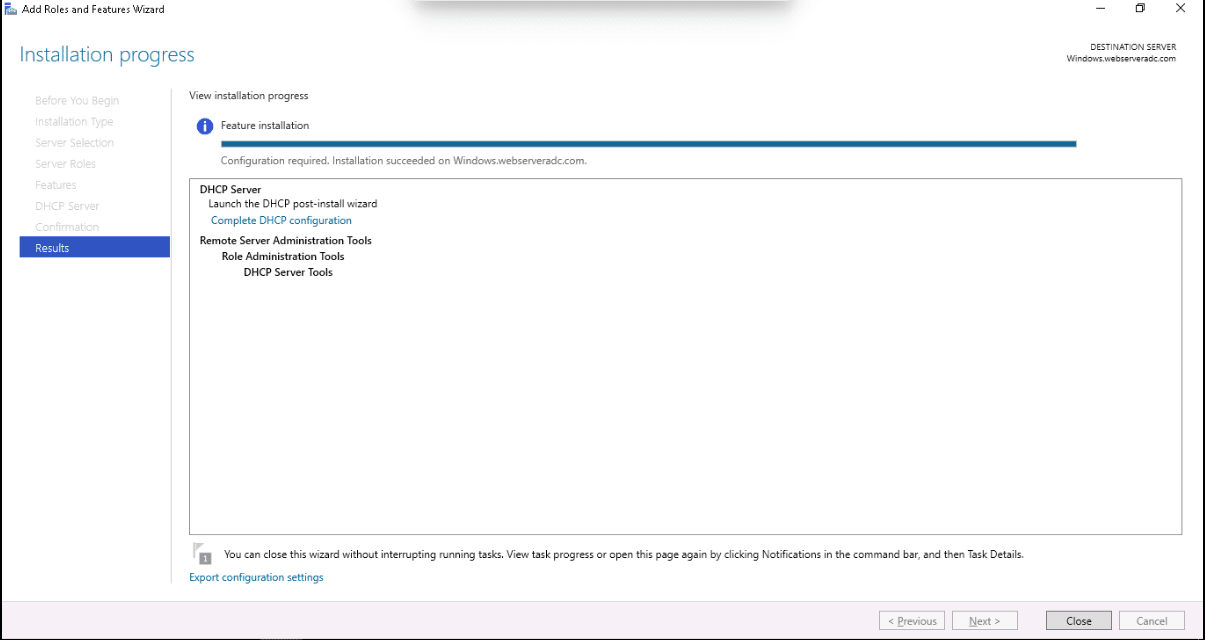
12. Click on the “Complete the DHCP configuration“. You should see the DHCP Post-Install Wizard in the following page:
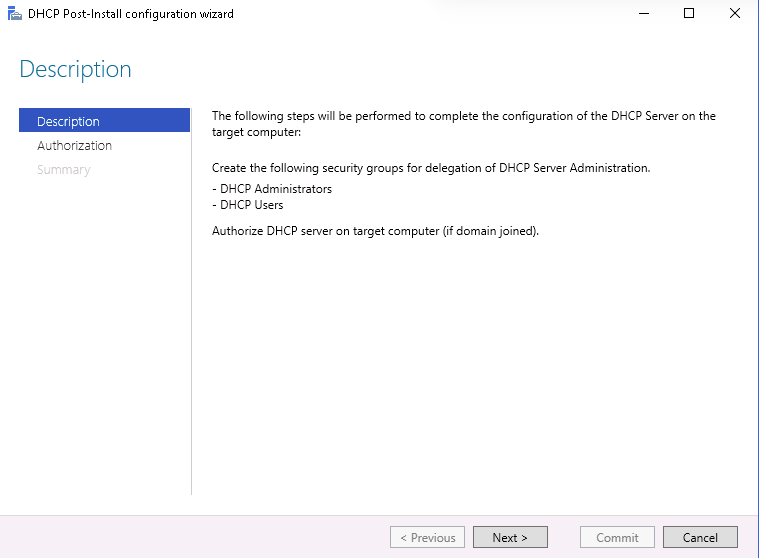
13. Click on the Commit and Next button to Authorize the DHCP server on the target computer. Once the authorization process has been completed successfully, you should see the following page:
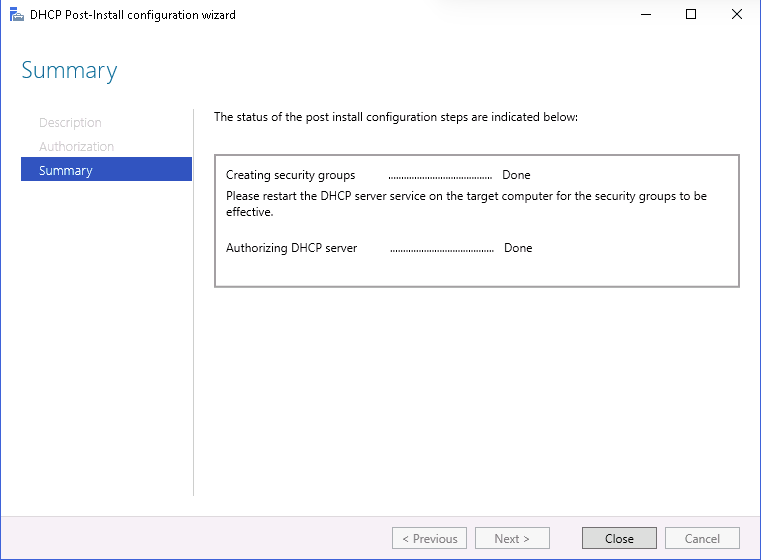
14. Now, click on the Close button to exit from the wizard.
At this point, your DHCP server is installed and configured. It’s time to create a scope for DHCP server.
Create DHCP Scope
Next we’ll need to create a DHCP scope to define a range of IP addresses available for client computers.
You can follow the below steps to create a new DHCP scope.
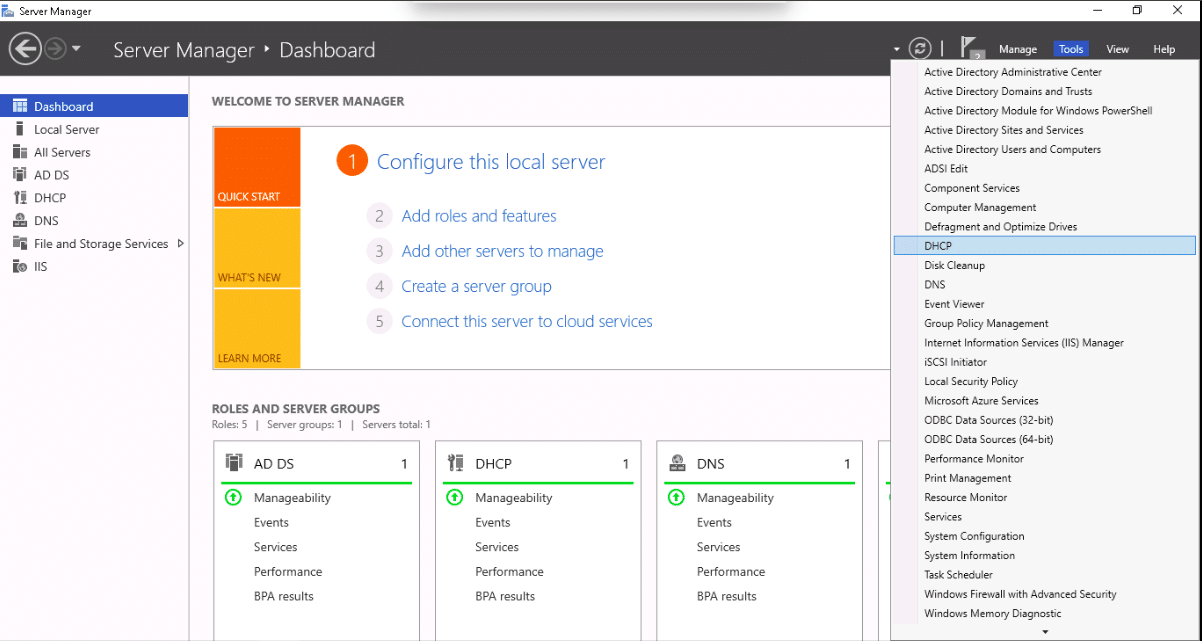
1. Open the Server Manager => Tools => DHCP to launch a DHCP console. You should see the following page:

2. Expand the DHCP server hostname and right-click on IPv4 => New Scope. You should see the DHCP Scope wizard in the following page:

3. Click on the Next button to start the wizard. You should see the following page:

4. Provide your Scope name, Description and click on the Next button. You should see the following page:
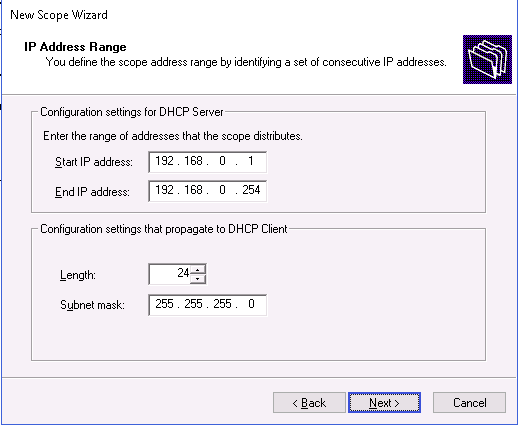
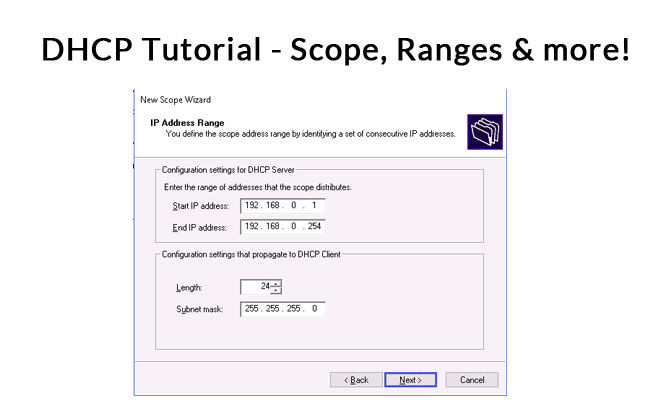
5. Provide the range of IP addresses that you want to assign to the client computers and click on the Next button. You should see the following page:
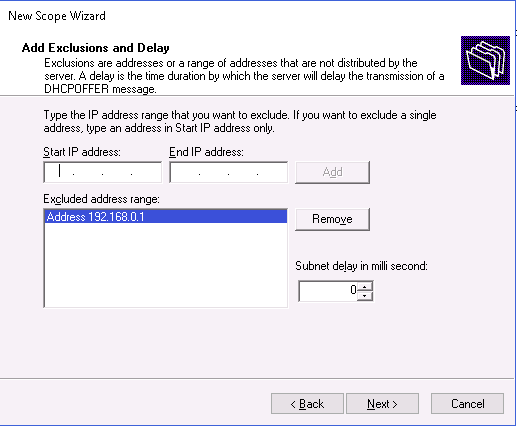
6. Add the IP address from the given range that you want to exclude (Your Gateway address) and click on the Next button. You should see the following page:

7. Provide the lease duration that how long a client computer can use an IP address from this scope and click on the Next button. You should see the following page:
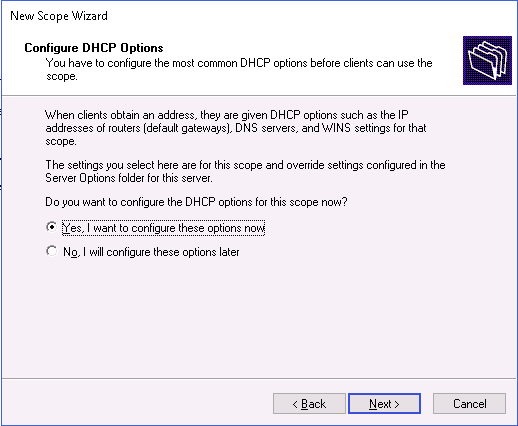
8. Select Yes and click on the Next button. You should see the following page:
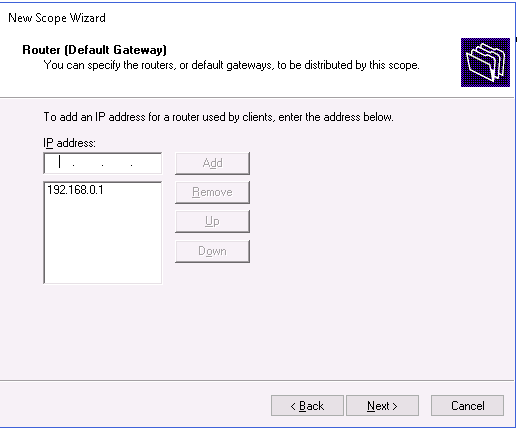
9. Provide the IP address of your gateway router and click on the Next button. You should see the following page:

10. Provide your domain name and IP address of all DNS servers the client should use and click on the Next button. You should see the following page:

11. Skip the Wins Servers configuration and click on the Next button. You should see the following page:
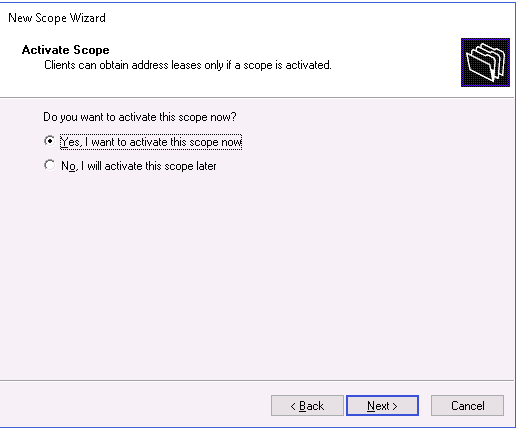
12. Finally, select Yes and click on the Next button to activate the new scope. You should see the following page:

13. Click on the Finish button to close the wizard. You should see the following page:
Configure Scope Reservations
Next we’ll need to configure a reservation for your scope so that you can specify a specific host that always receives the same IP address.
Scope reservations retrieve clients MAC address during a DHCP request, matches it to an IP address in the reservation list and then assigns that IP address to the host.
You can configure the Scope Reservation by following the below steps:
1. Open the DHCP console, expand your Scope and right-click on the Reservations. You should see the following page:
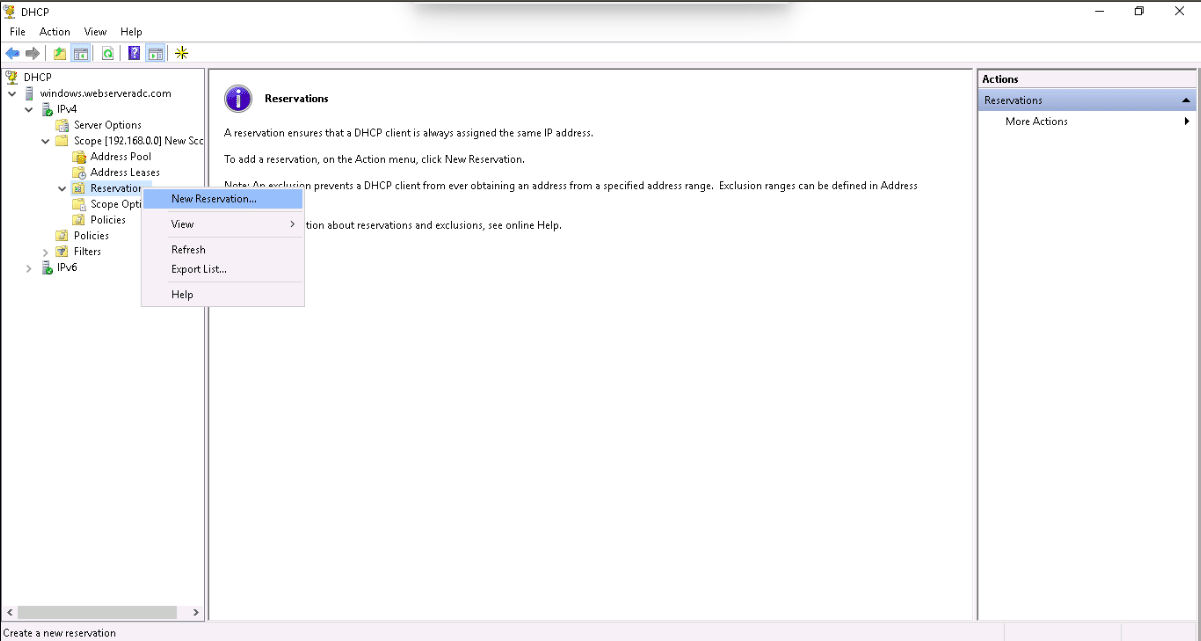
2. Click on the New Reservation, you should see the following page:
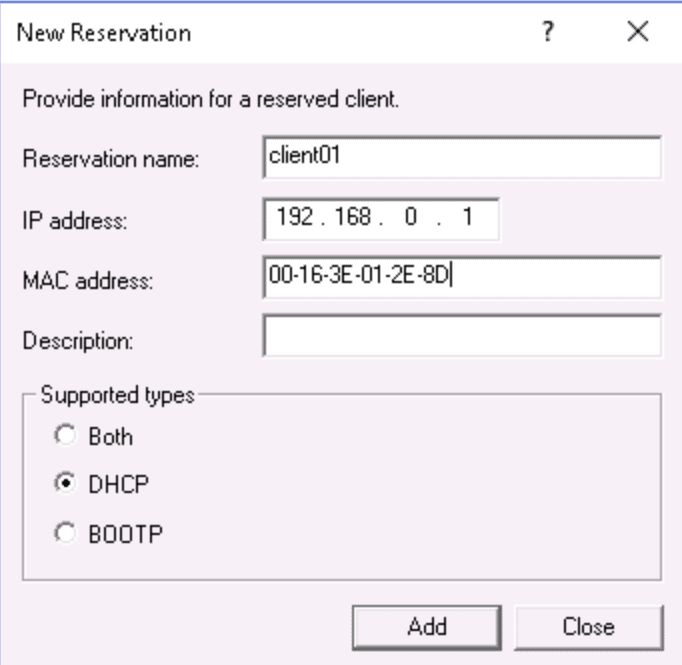
3. Provide the name of Reservation, IP address and Mac address of the client’s computer, select DHCP and click on the Add button to add the new reservation.
Configure Scope Options
We’ll also need to configure Scope Options to define additional network information when a client computer assigned an IP address.
You can set DNS server, NTP server and Gateway with scope options.
You can configure Scope Options by following the below steps:
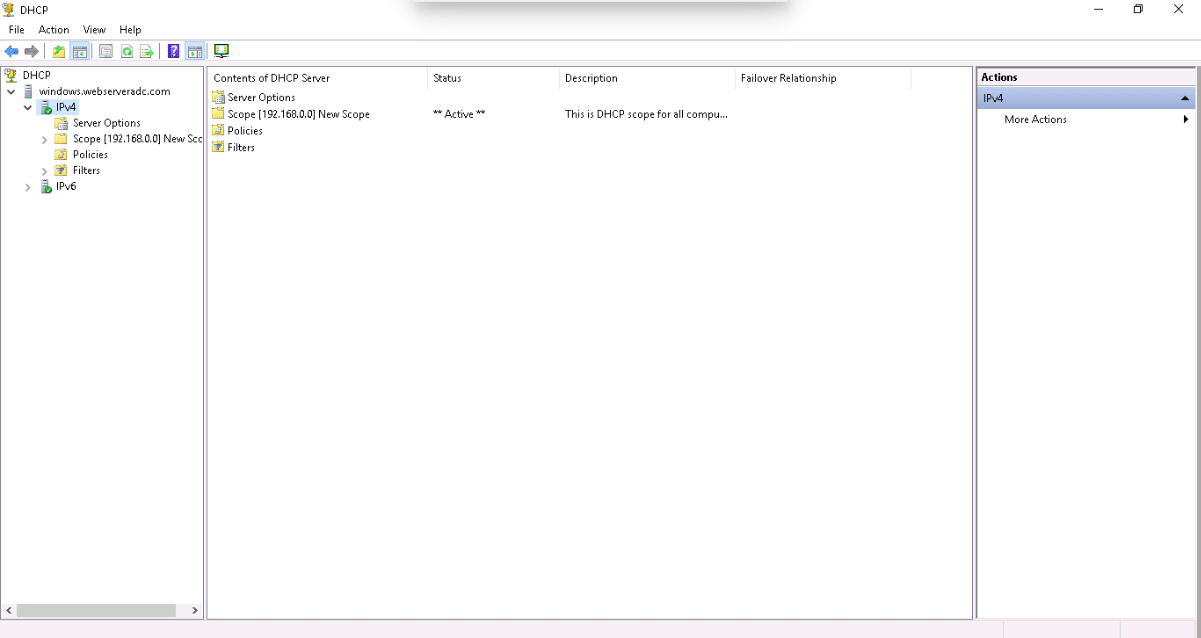
1. Open the DHCP console, expand IPv4 and right-click on the Server Options. You should see the following page:
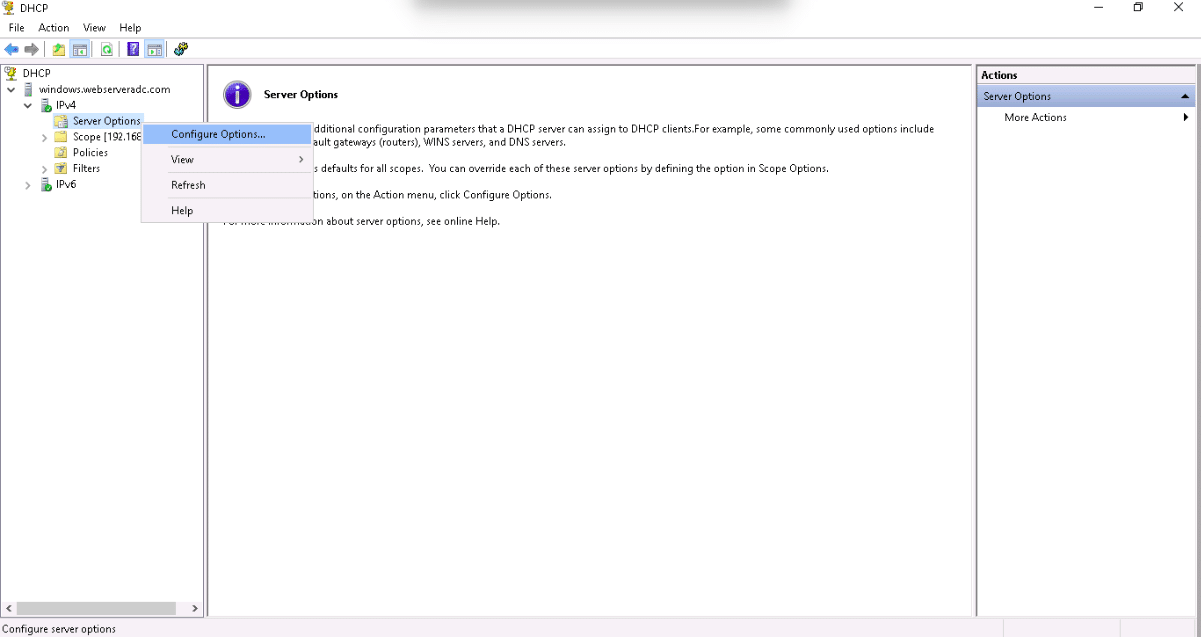
2. Click on the Configure Options button. You should see the following page:

3. In General tab, select the Router and add the Router IP address, and click on the Advanced tab. You should see the following page:
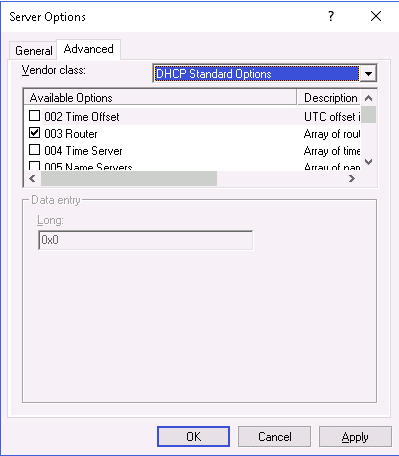
4. Select the router and click on the OK button to finish the process.
Conclusion
Congratulations! We’ve successfully installed and configured the DHCP Scope on Windows Server 2016. For more information, you can visit the DHCP documentation page.