In some cases, you are connected to a remote machine via SSH and perform a log-running task, and suddenly your SSH connection drops.
Do you know what happened? Your task has been lost.
The screen command is a terminal multiplexer that allows us to resume the dis-connected sessions. You can create multiple terminal sessions and share your screen with other users using the screen.
If you are dealing with multiple programs from a command-line interface then the screen application is very useful.
After starting the screen session, you can detach from the session and then reattach the session at a later time.
In this tutorial, we will show you how to use screen command with examples.
Install Screen
By default, the screen package is installed in most Linux-based operating systems. If not installed you can easily install it on Debian-based system with the following command:
apt-get install screen -y
For CentOS run the following command:
yum install screen -y
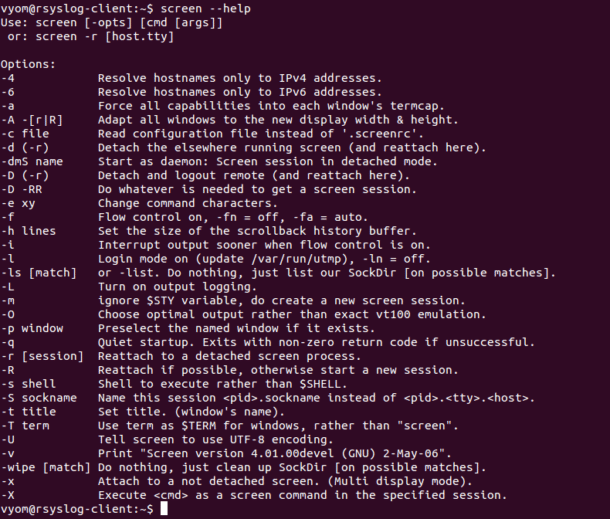
Once installed, you can see all the options available with the screen using the following command:
screen --help
You should see the following screen:
You can also see the version of the screen package with the following command:
screen -v
You should see the following output:
Screen version 4.01.00devel (GNU) 2-May-06
Basic Syntax of the Linux Screen Command
The basic syntax of the screen command is shown below:
screen [-opts] [cmd [args]]
Most common used shortcut keys options for managing Linux screen are shown below:
- Ctrl-a + c : This option is used to create a new windows.
- Ctrl-a + n : This option is used to go to the next windows.
- Ctrl-a + p : This option is used to go to the previous windows.
- Ctrl-a + S : This option is used to split the current windows horizontally.
- Ctrl-a + | : This option is used to split the current windows vertically.
- Ctrl-a + d : This option is used to detach from a screen session.
- Ctrl-a + r : This option is used to reattach from a detached screen session.
- Ctrl-a + w : This option is used to display the list of all the windows currently opened.
- Ctrl-a + X : This option is used to close the splited windows.
- Ctrl-a + k : This option is used to kill the screen session.
Working with Screen Command
In this section, we will show you how to start a screen session, run a program, detach from the current session and reattach the screen session again.
First, start a screen session with the following command:
screen
Next, run the following WGET command to download CentOS-8 ISO:
wget http://centos.hbcse.tifr.res.in/centos/8-stream/isos/x86_64/CentOS-Stream-x86_64-dvd1.iso
You should see the following screen:
Now, press “Ctrl-A” and “d“ to detach from the screen.
You can not see anything after detach from the screen. You should see only following output:
[detached from 7212.pts-31.rsyslog-client]
If you want to see the progress of your download process. You will need to restore the screen.
To do that, reattach the screen with the following command:
screen -r
You should see the progress of your download process in the following screen:
If you have more than one screen session, you will need to list the available screen using the following command:
screen -ls
You should see the following output:
There is a screen on:

7212.pts-31.rsyslog-client      (Friday 13 December 2019 11:31:11  IST) (Attached)

1 Socket in /var/run/screen/S-vyom.
Next, you can restore the screen with session ID 7212.pts-31.rsyslog-client as shown below:
screen -r 7212
If you want to quit from the screen session. Press the key ctrl-a followed by k. You should see the following output:
Really kill this window [y/n]y
Now, type y and hit enter to quit from the screen session.
If you want to lock your screen session and be sure that nobody will come to unauthorized operations.
Then, you can achieve this with the command ctrl-a followed by x. You should see the following output:
Screen used by Vyom  on rsyslog-client.

Password:
Provide your current user password to lock the screen.
Sharing a screen session with User
If two users logged into the remote system via SSH using the same account. You can share a screen session between them. So whatever one user types the other user sees.
To do so, login to the remote system via SSH and create a named screen session as shown below:
screen -d -m -S remote
Next, attach to the screen session with the following command:
screen -x remote
Next, tell another user to logged into the remote system with the same account and attach to the screen session with the following command:
screen -x remote
Now, everything appears on your terminal will also appear on the terminal of the other user.
Split Window in Screen Session
You can also split your multiple screen sessions in a single window to view your work.
First, start a new screen session with the following command:
screen -S new
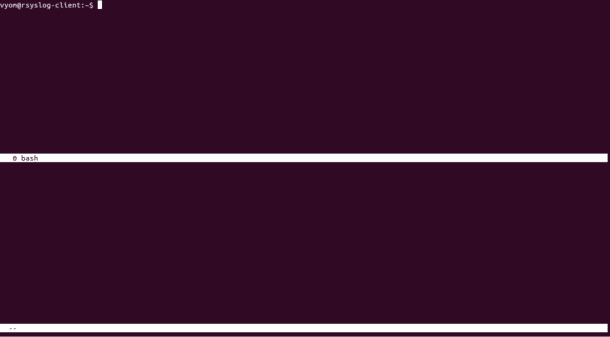
Next, press ctrl-a followed by S to split your screen horizontally as shown below:
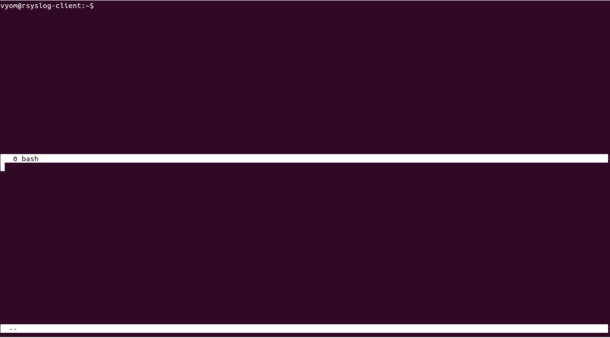
If you want to move another windows, press ctrl-a followed by Tab. You should see the following screen:
Now, press the ctrl-a followed by X to close a splitted windows.
See the owner of each screen session
You can also see which screen sessions have been started by which users by looking into /var/run/screen/ directory.
Run the following command to see the owner of each screen session:
ls -lR /var/run/screen
You should see the following output:
/var/run/screen:

total 0

drwx------ 2 vyom vyom 140 Dec 13 12:30 S-vyom

/var/run/screen/S-vyom:

total 0

prw------- 1 vyom vyom 0 Dec 13 12:17 4935.pts-4.rsyslog-client

prwx------ 1 vyom vyom 0 Dec 13 12:16 5131.new

prw------- 1 vyom vyom 0 Dec 13 12:26 5205.new1

prw------- 1 vyom vyom 0 Dec 13 12:28 5685.pts-13.rsyslog-client

prwx------ 1 vyom vyom 0 Dec 13 12:30 5767.new
Show screen parameter
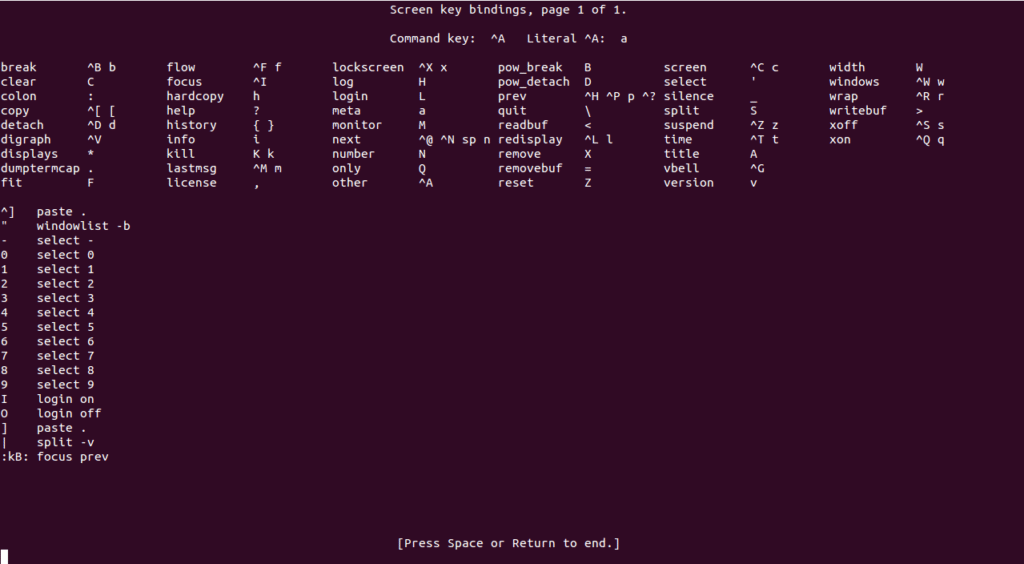
After starting a screen session, you can also see all the parameters available inside the screen.
To do so, just press ctrl-a followed by ?.
You should see the following screen:
Next, press “space-bar” button or “Enter“ to exit from the help screen.
Conclusion
In the above tutorial, you learned how to use the Linux Screen command through different examples.
We hope you have now enough knowledge to use Linux Screen command on a daily basis and explore the more features. You can also see the screen man page for more detail information.
